

Herramienta profesional para trenzar el cabello Alli Styles Assistant
Herramienta profesional para trenzar el cabello Alli Styles Assistant
No se pudo cargar la disponibilidad de retiro
Prepara el cabello trenzado como un profesional
¡Reserva el tuyo hoy mismo!
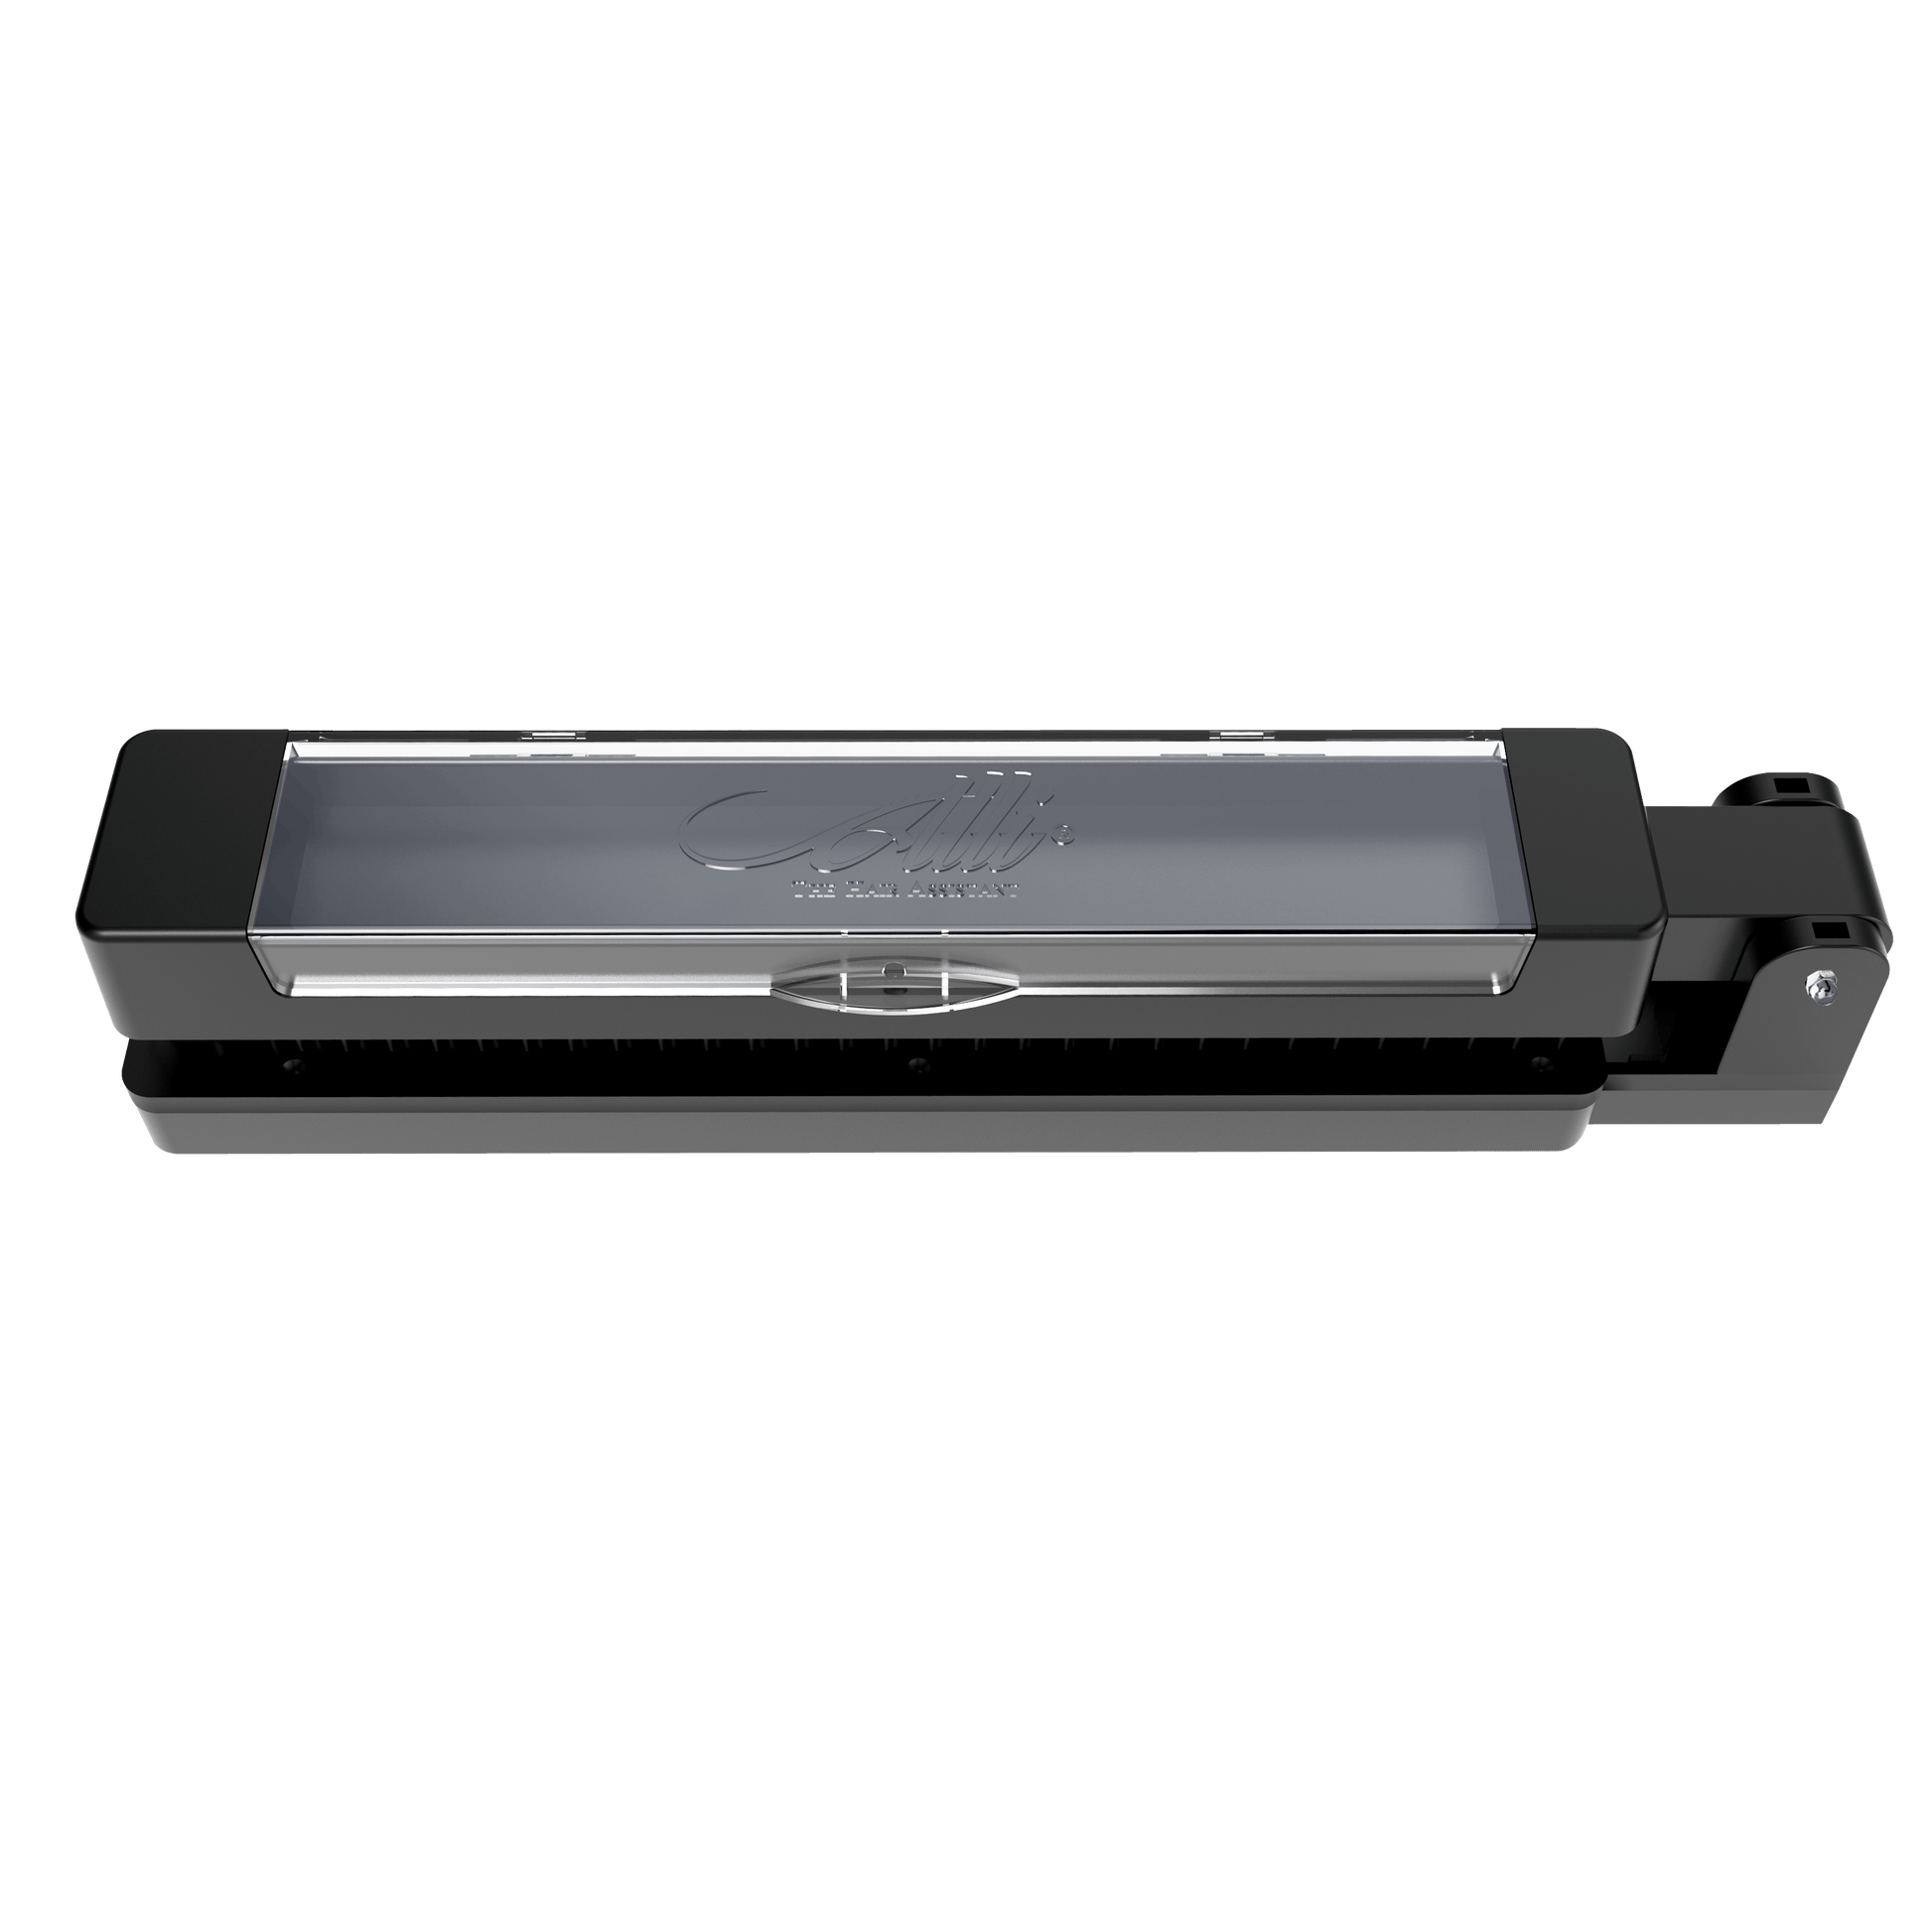
Con el aumento del tiempo social, cada día aparece un nuevo estilo de trenza que todas queremos y amamos probar. Pero es casi imposible hacerlo todo bien y para ayudarte en esta tarea y brindarte una solución fácil y sencilla, hemos creado un dispositivo para tejer el cabello: la herramienta profesional para trenzar el cabello Alli Styles Assistant .
Esta práctica herramienta para trenzar el cabello es como tu mejor amiga personal, ya que te ayuda a deshacerte del estrés y la frustración del trabajo de preparación para que puedas concentrarte en crear estilos increíbles. Olvídate de tener que lidiar con múltiples herramientas y extensiones de cabello enredadas. El asistente Alli Styles mantiene todo organizado, lo que te permite combinar fácilmente diferentes colores y largos de cabello. Además, los clips y peines incorporados mantienen el cabello en su lugar, evitando enredos y haciendo que la división sea muy sencilla.
El asistente Alli Styles hace que trenzar y torcer el cabello con una variedad de estilos, como trenzas de caja, trenzas africanas, giros y fusiones, sea más rápido y simple, independientemente del nivel de experiencia, para que ahora pueda lograr trenzas como de salón en casa, ahorrando tiempo y frustración.
Cómo utilizar la herramienta para trenzar el cabello
Product features
Product features
Patented dual-clamp system designed for braiding hair organization and easy pull-through styling
Holds bulk synthetic or human hair securely in place to prevent tangling and loss
Reduces prep time and eliminates the need for braid racks or client assistance
Compatible with most flat surfaces using an adjustable metal C-clamp
Ideal for protective styles like knotless braids, feed-ins, twists, and cornrows
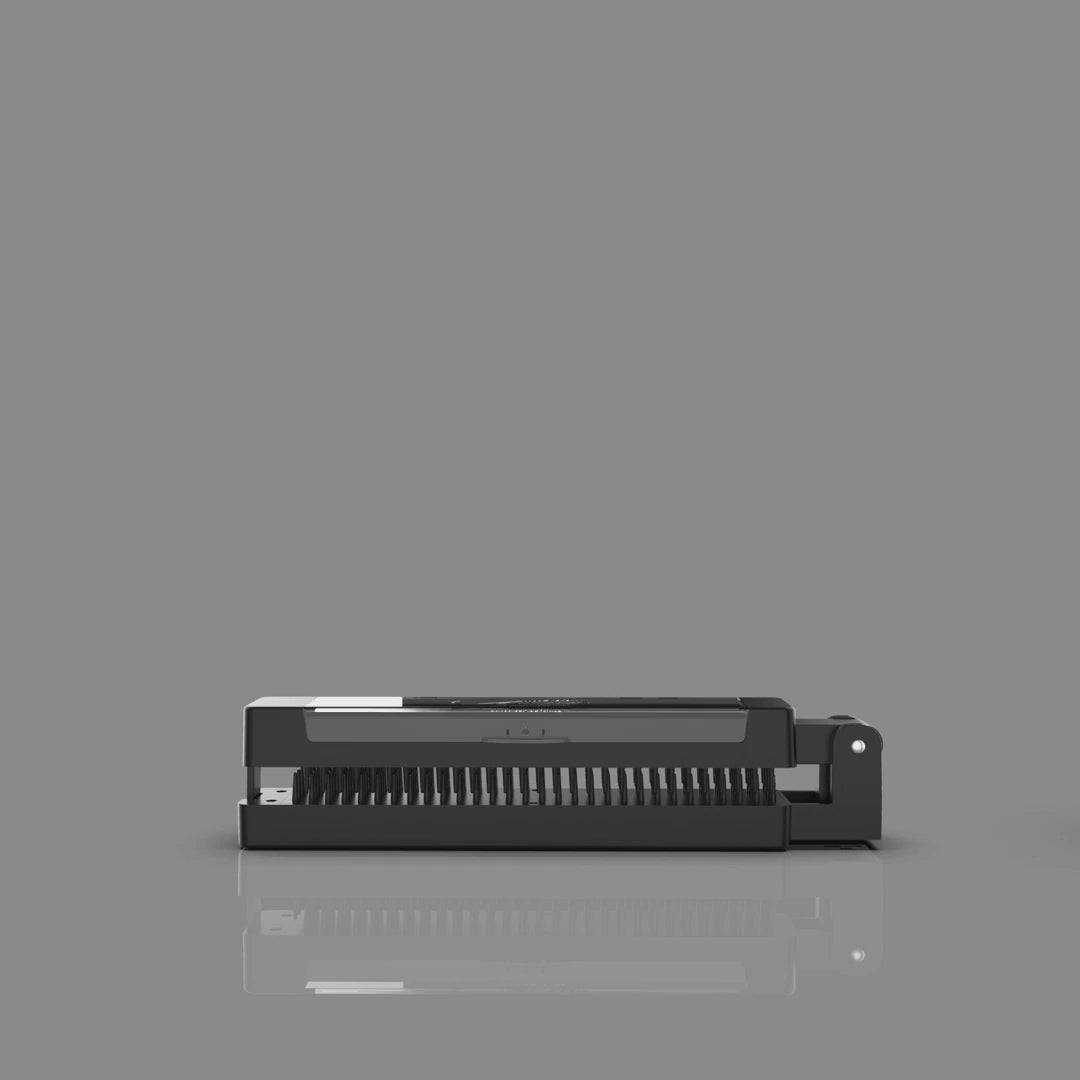
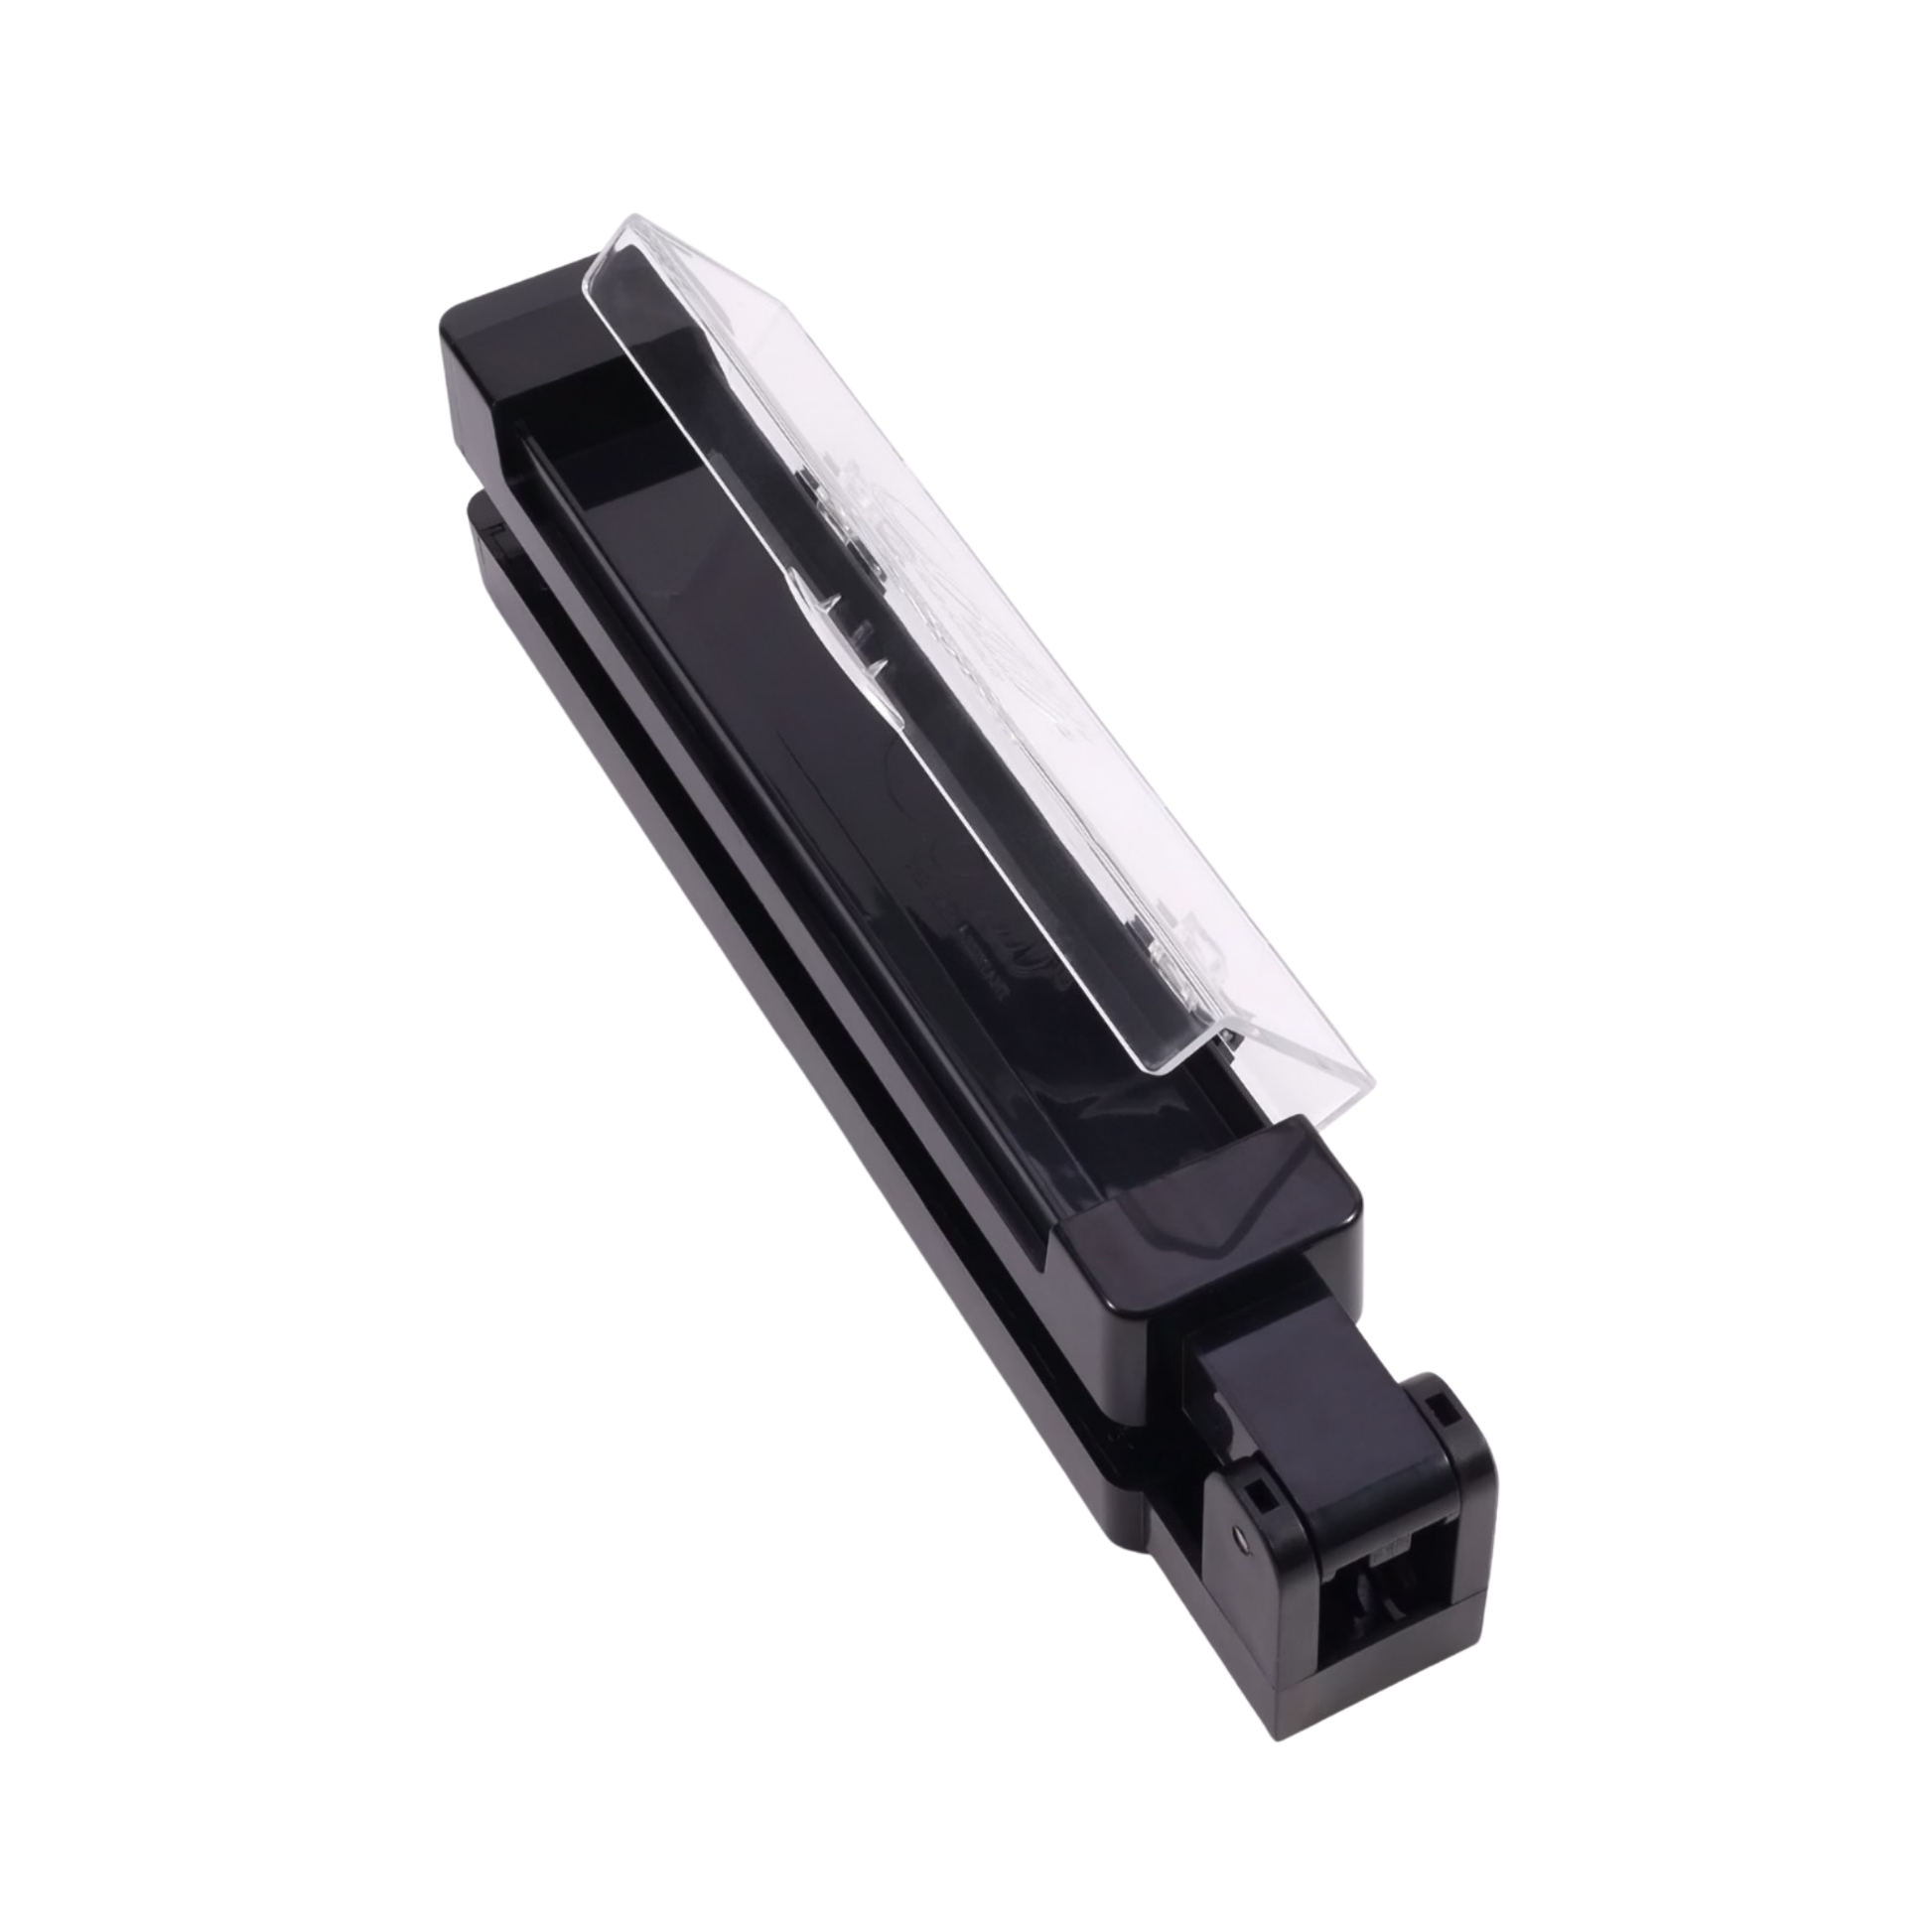
Durable, travel-friendly design folds flat and wipes clean for easy portability
Developed by a stylist, backed by a legacy of salon innovation and real-world use
Main Materials
Main Materials
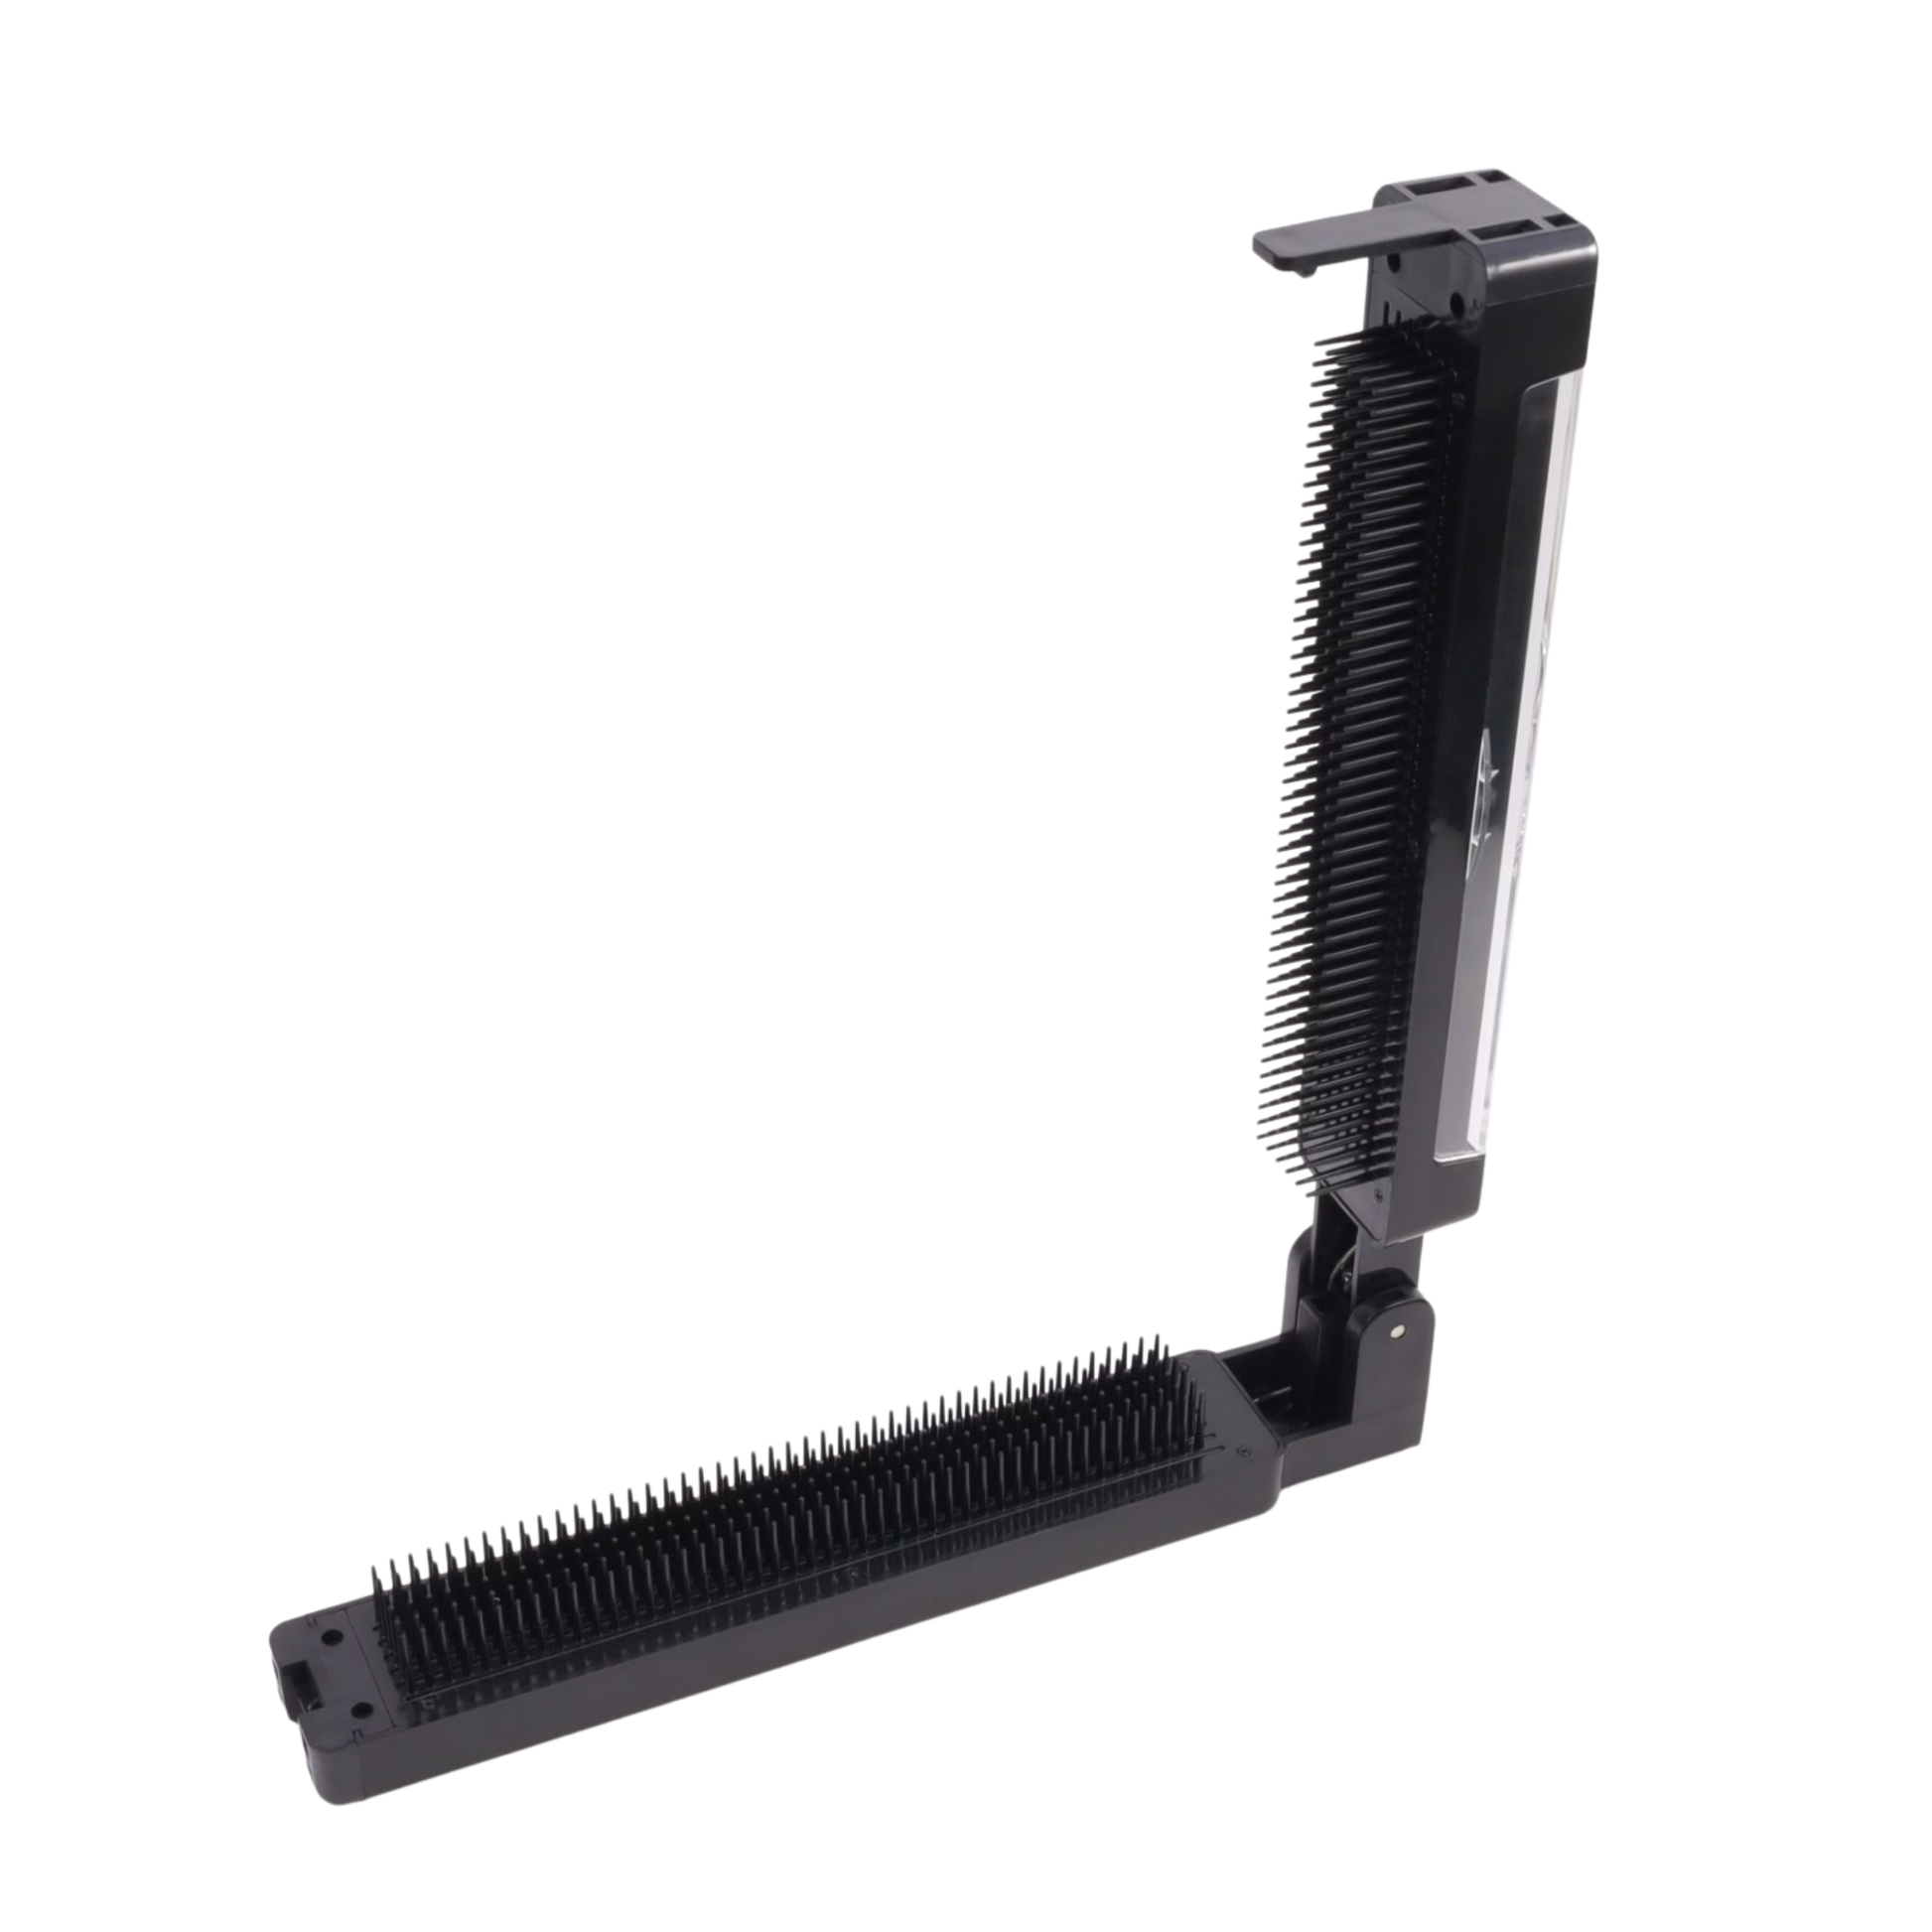
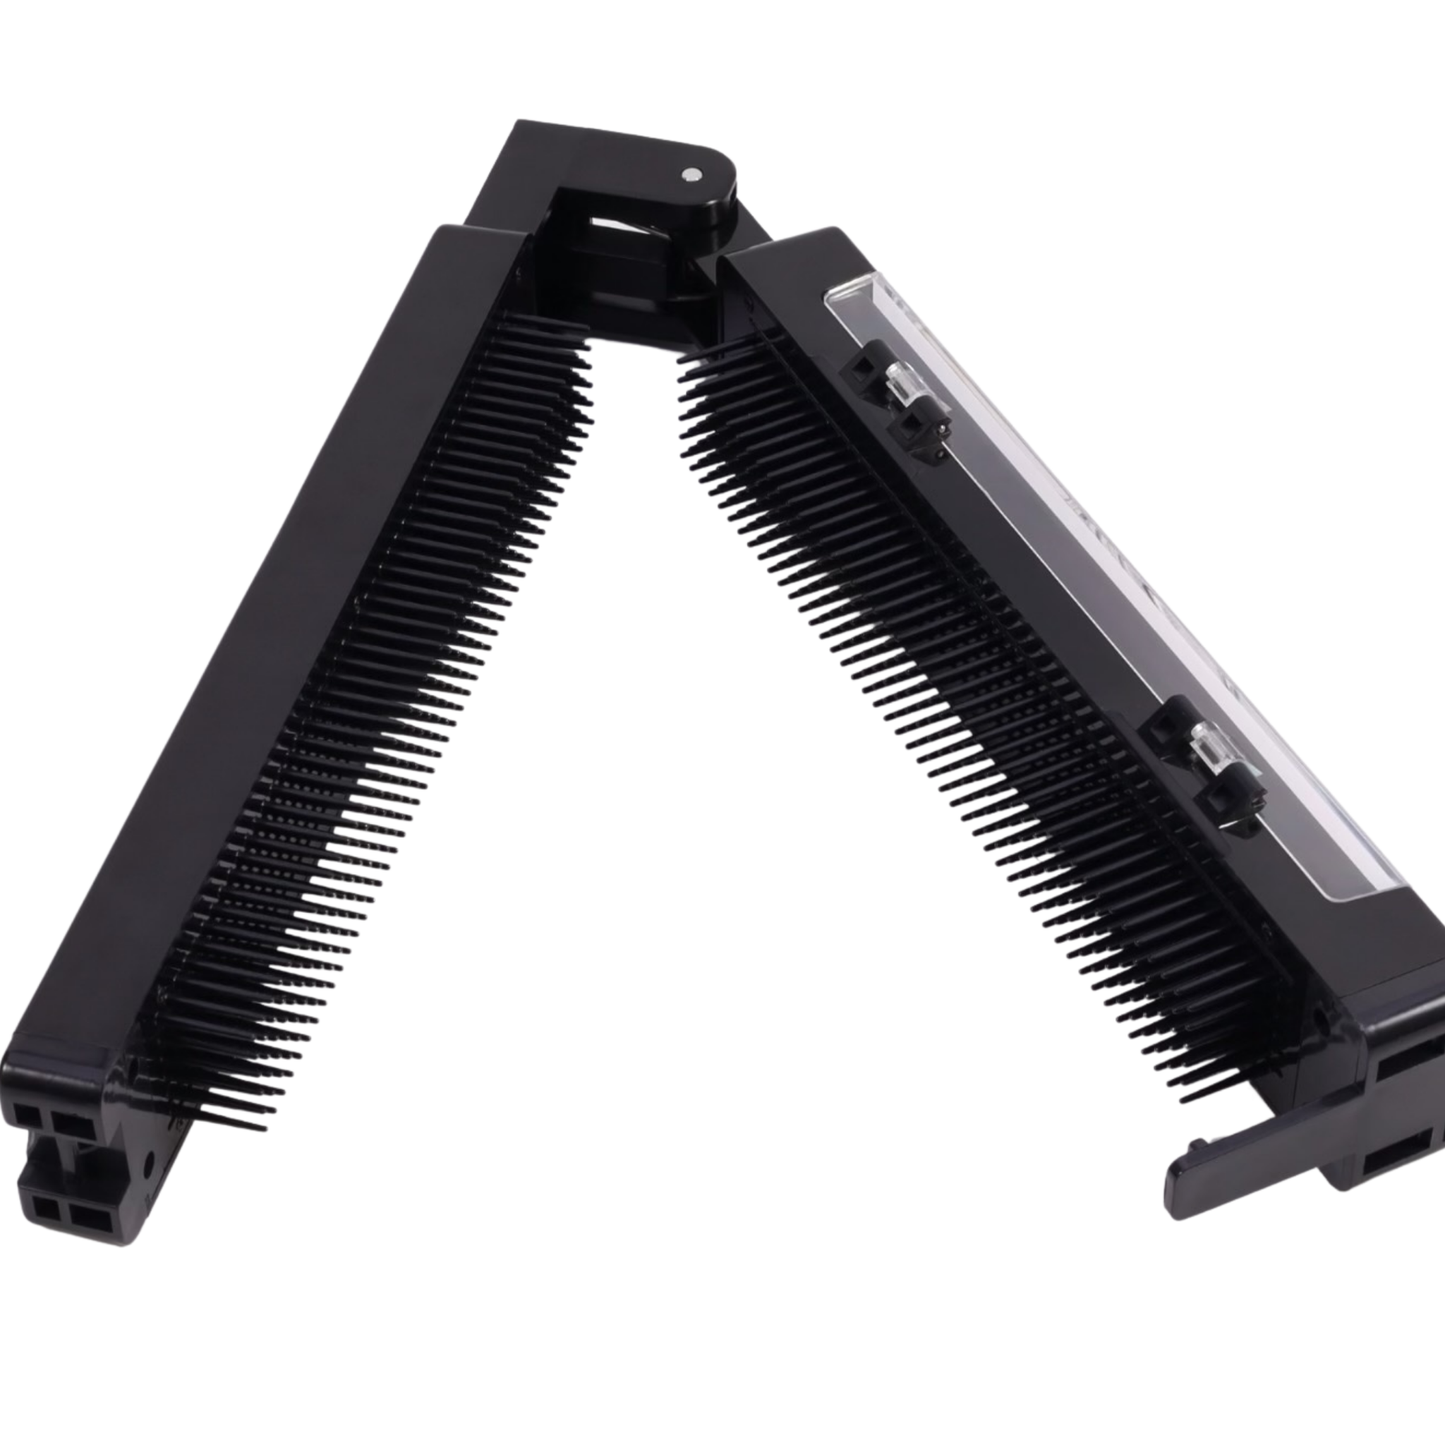
Adjustable Metal C-Clamp Base – Secures the tool to most stable, smooth surfaces like countertops, salon trays, or tables for hands-free use.
Stainless Steel Stem – Provides strong upright support for consistent tension and control.
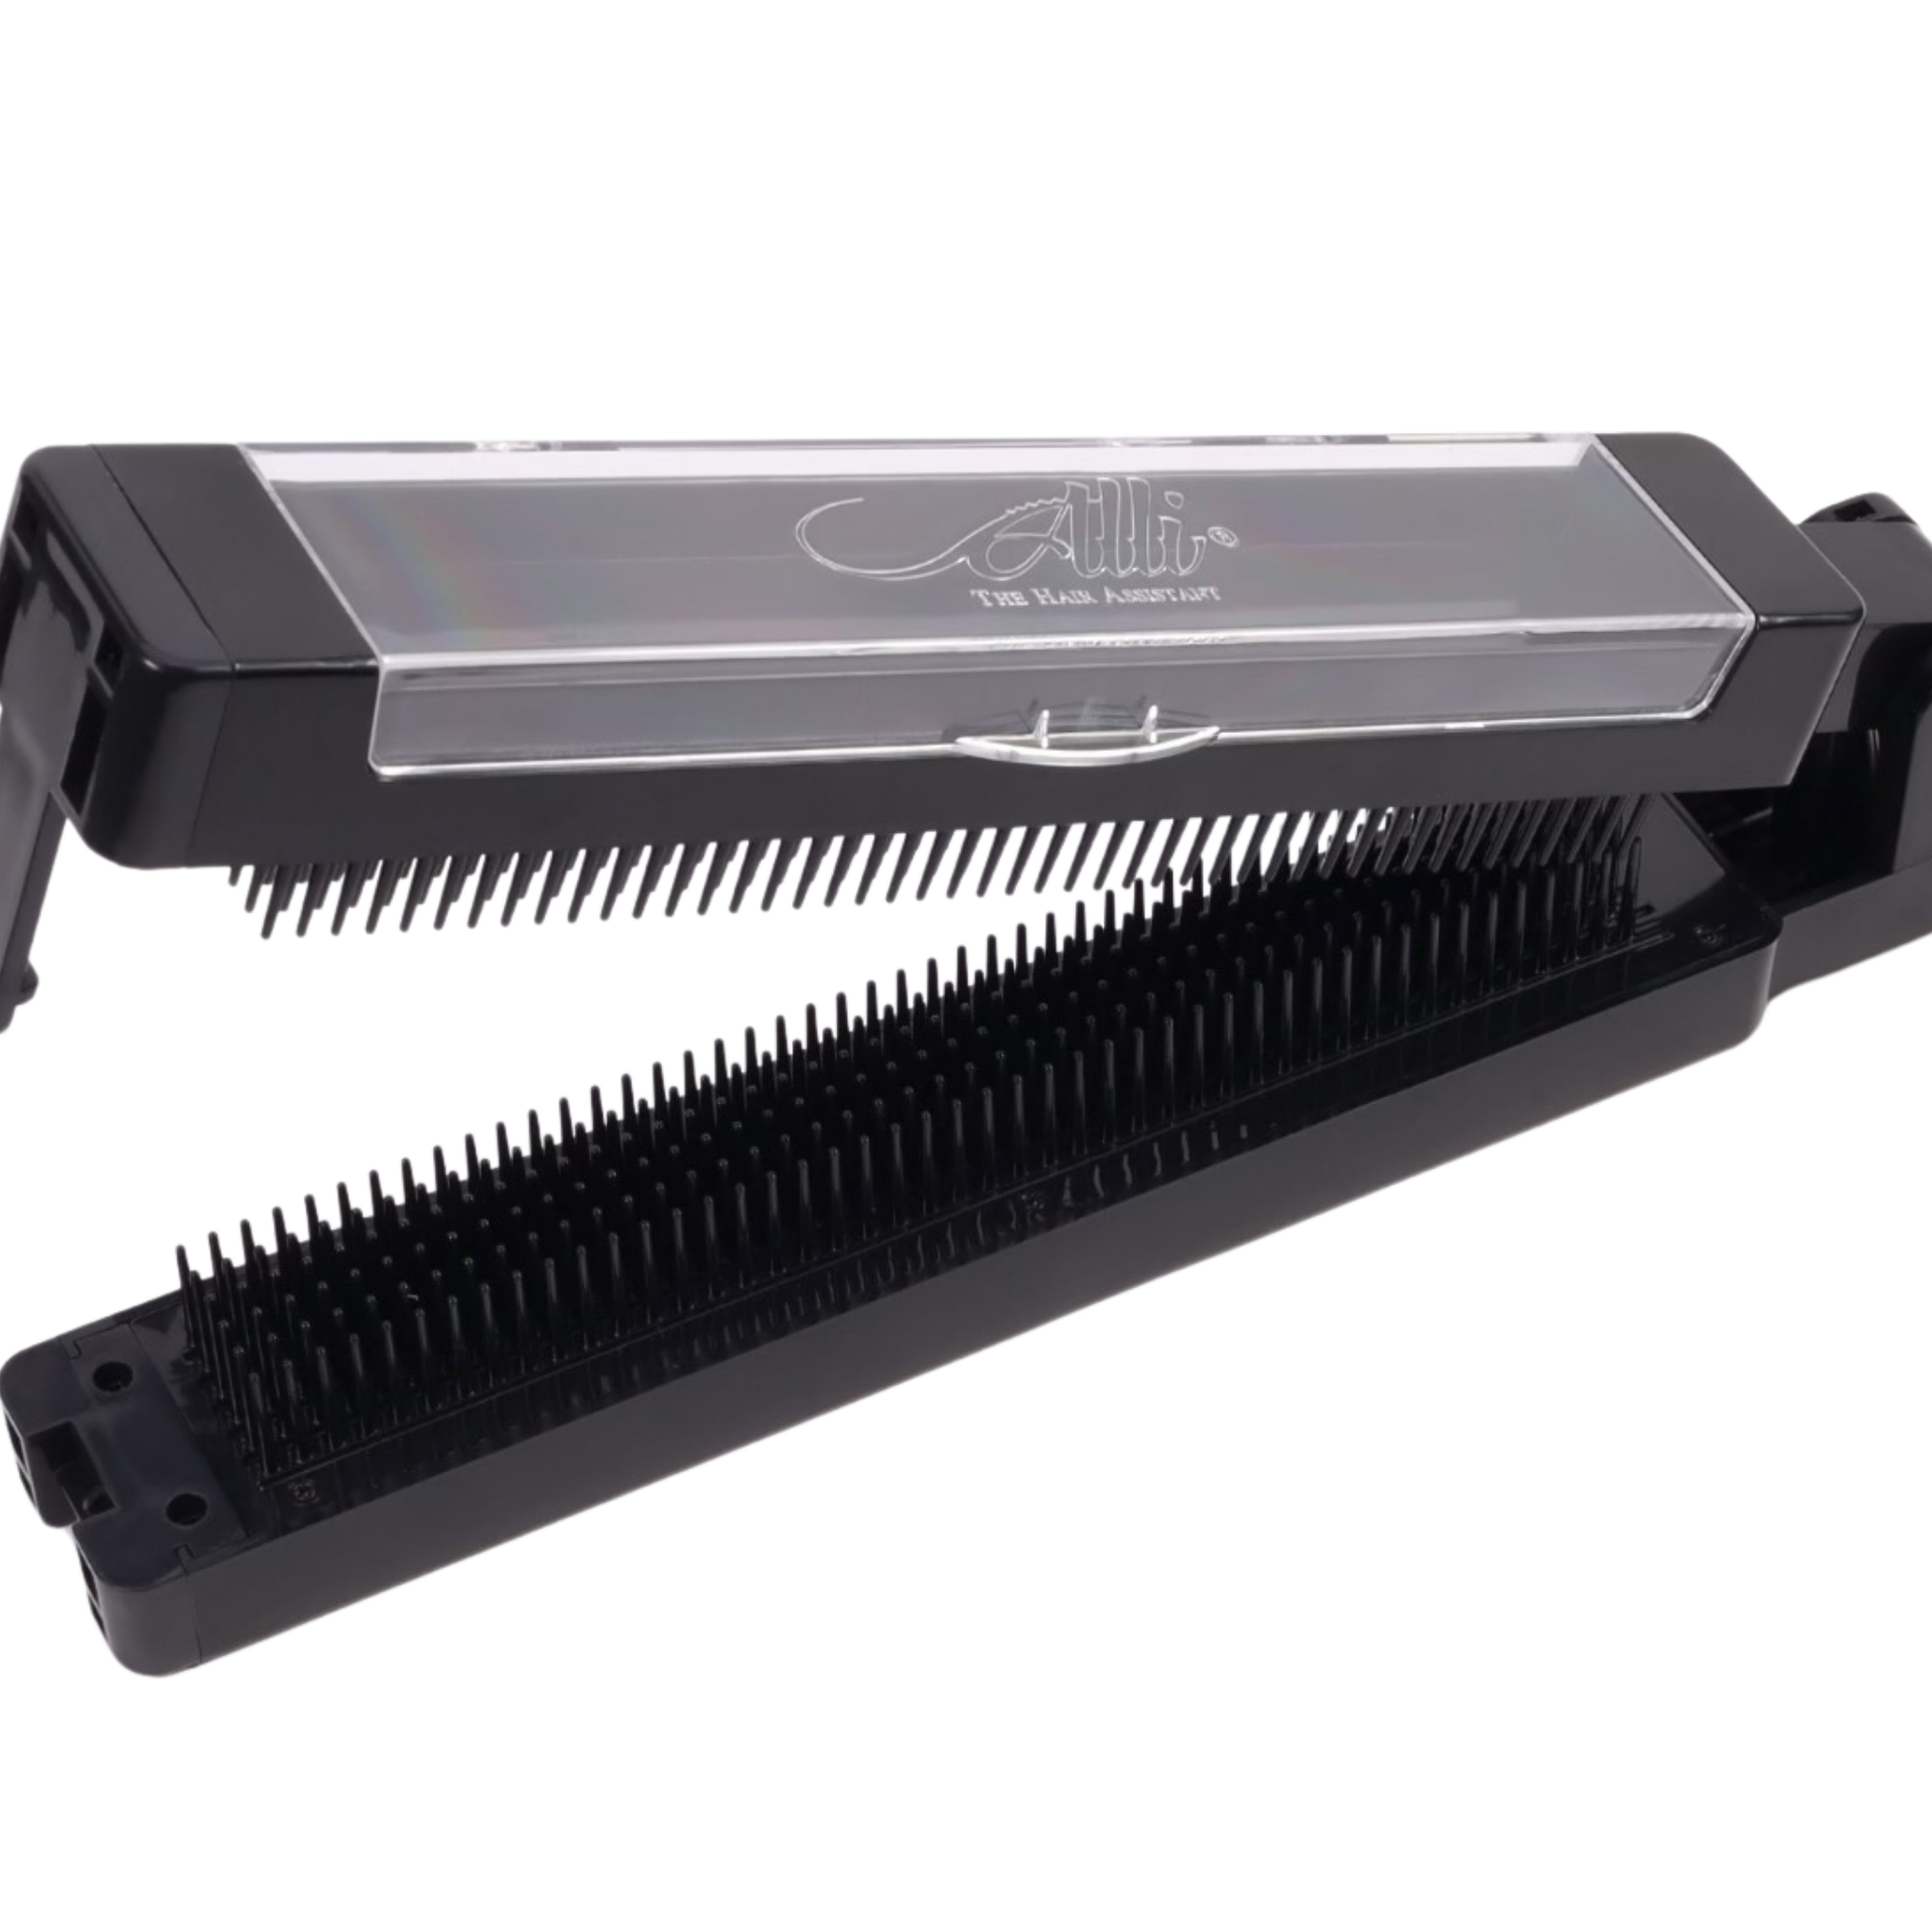
Comb-Like Clamping Teeth – Alligator-style jaws with comb-like teeth securely hold hair extensions in place without tangling.
Metal Screws & Allen Wrench Included – For easy assembly and long-term maintenance.
How to Use
How to Use
Attach the C-clamp base to a flat, sturdy surface like a table, tray, or countertop using the included Allen wrench and screws.
Insert the stainless steel stem and clamp the top unit with the comb-like jaws in place.
Lightly brush the bulk hair at both ends to smooth and detangle.
Lay the bulk hair extensions flat across the bottom row of comb-like teeth, keeping the hair short on one side.
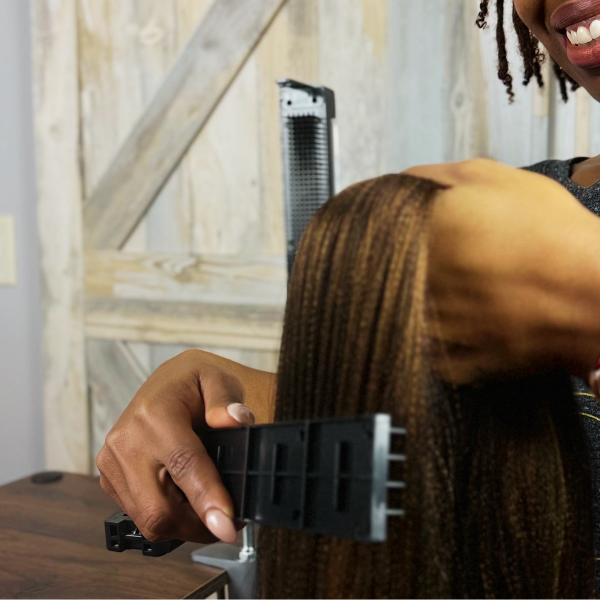
Close the clamp, then pull the desired amount from the longer side to braid.


How to Load and Pull Hair with Alli Styles
-
Step 1: Lightly brush
Lightly brush the bulk hair at both ends to smooth and detangle.
-
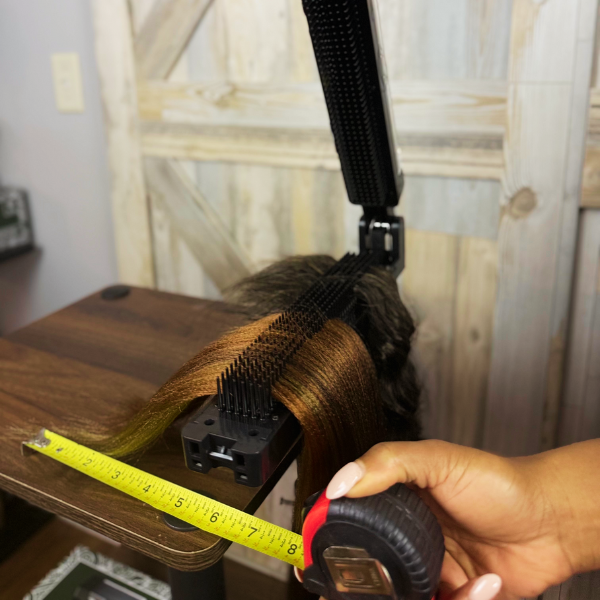
Step 2: Lay hair flat across
Lay the bulk hair extensions flat across the bottom row of comb-like teeth, keeping the hair short on one side.
-
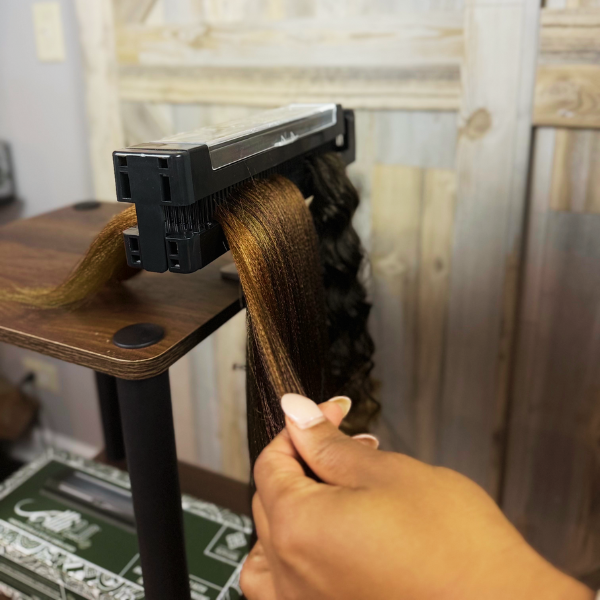
Step 3: Close the clamp
Close the clamp, then pull the desired amount from the longer side to braid.


Alli Styles Assistant Professional Braid Tool
A Legacy of Innovation Rooted in Family & Culture
Inspired by a legacy of innovation and passed-down braid mastery, this tool was born from a Black family business built in the heart of Chicago. What started as a handmade salon solution by a mother-father duo has now evolved into a patented, production-ready styling assistant for today’s modern braider.
Perfect for micro braids, knotless braids, feed-ins, Senegalese twists, cornrows, and more, the Alli Styles Assistant keeps your sections clean and consistent, allowing you to stay in rhythm from start to finish.
Durable, compact, and easy to wipe down between uses, it folds flat for travel and saves space at your station. Once you try it, you’ll wonder how you ever braided without it.